SportNinja Website Plugin (v3.0) - Integration Guide
Overview: It's possible with SportNinja's Website Plugin to seamlessly integrate your Competition's schedules, stats, teams and rosters into your existing website.
These are the integration instructions to display the SportNinja Widget within your website.
(Last Modified: Nov 9, 2023)
Example Screenshots
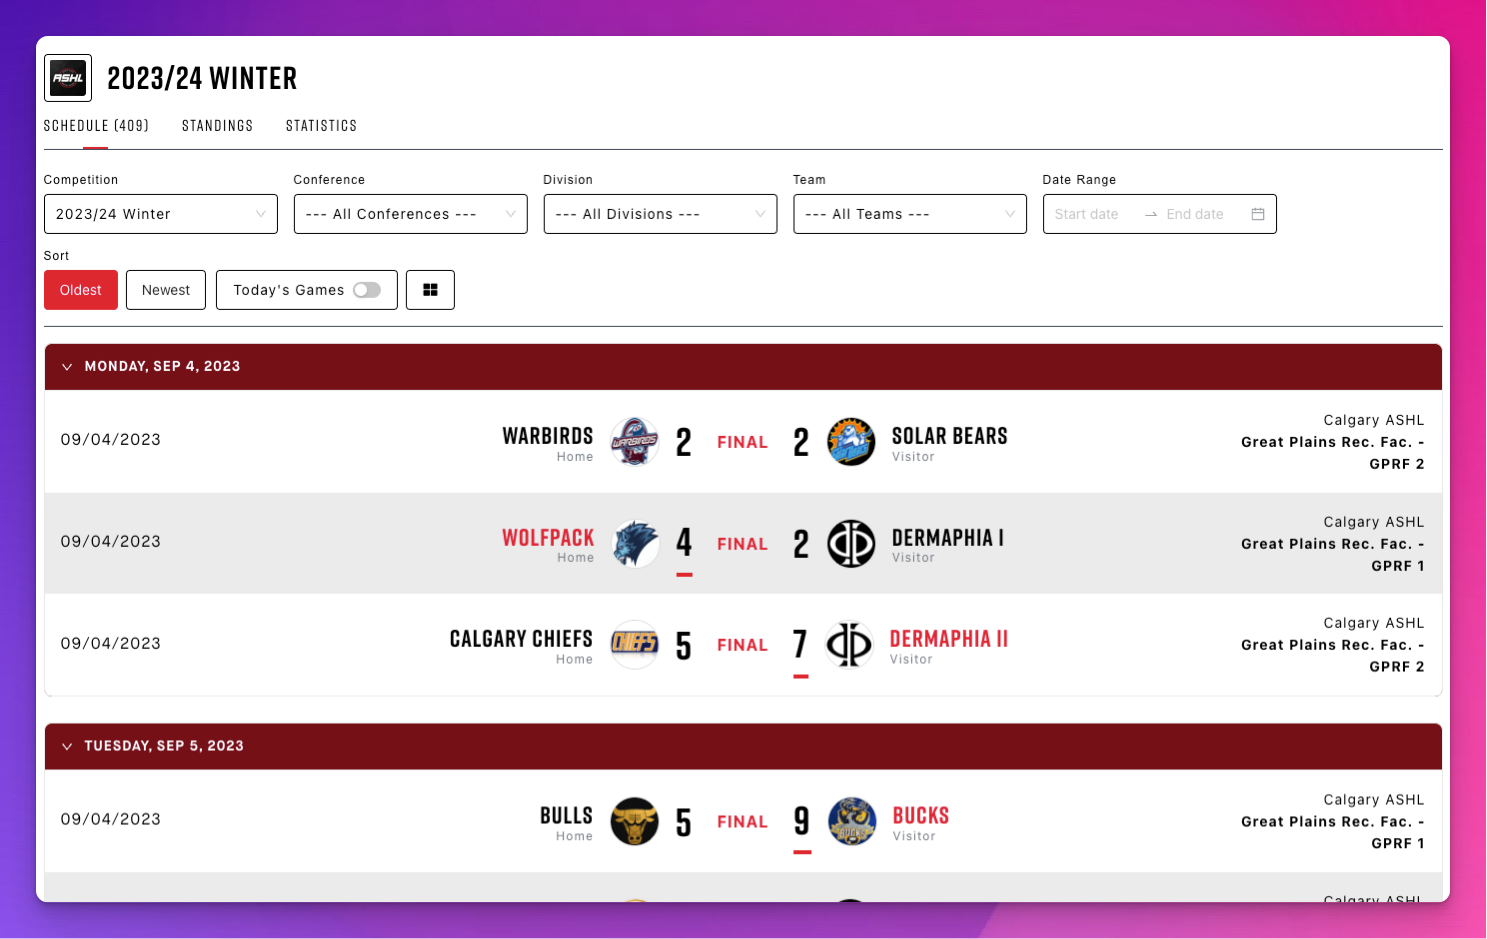
Schedule List View
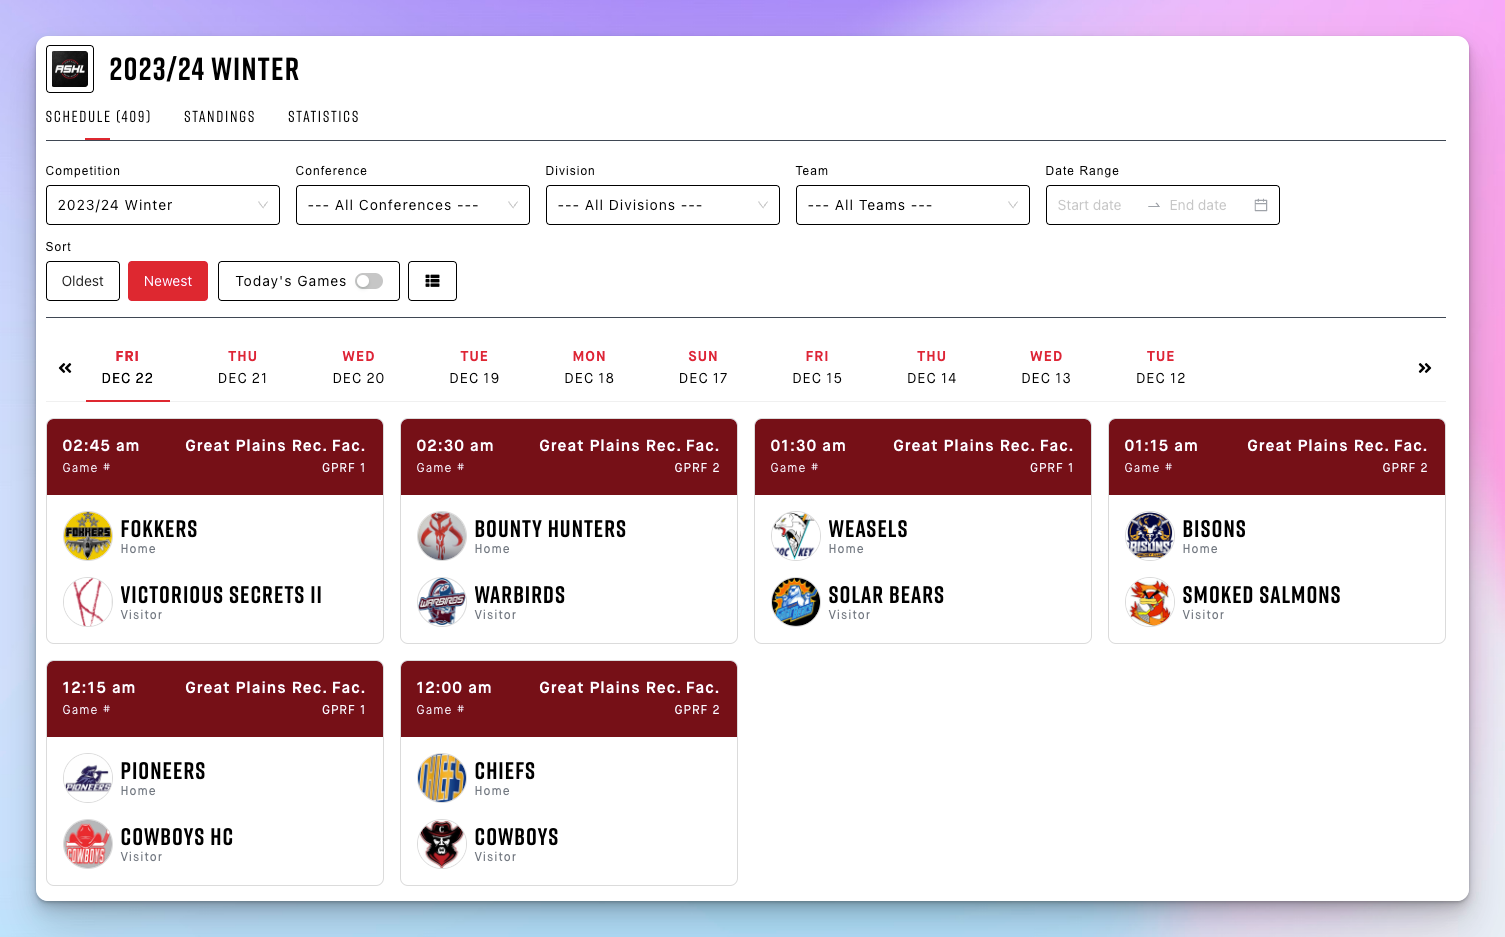
Schedule Card View
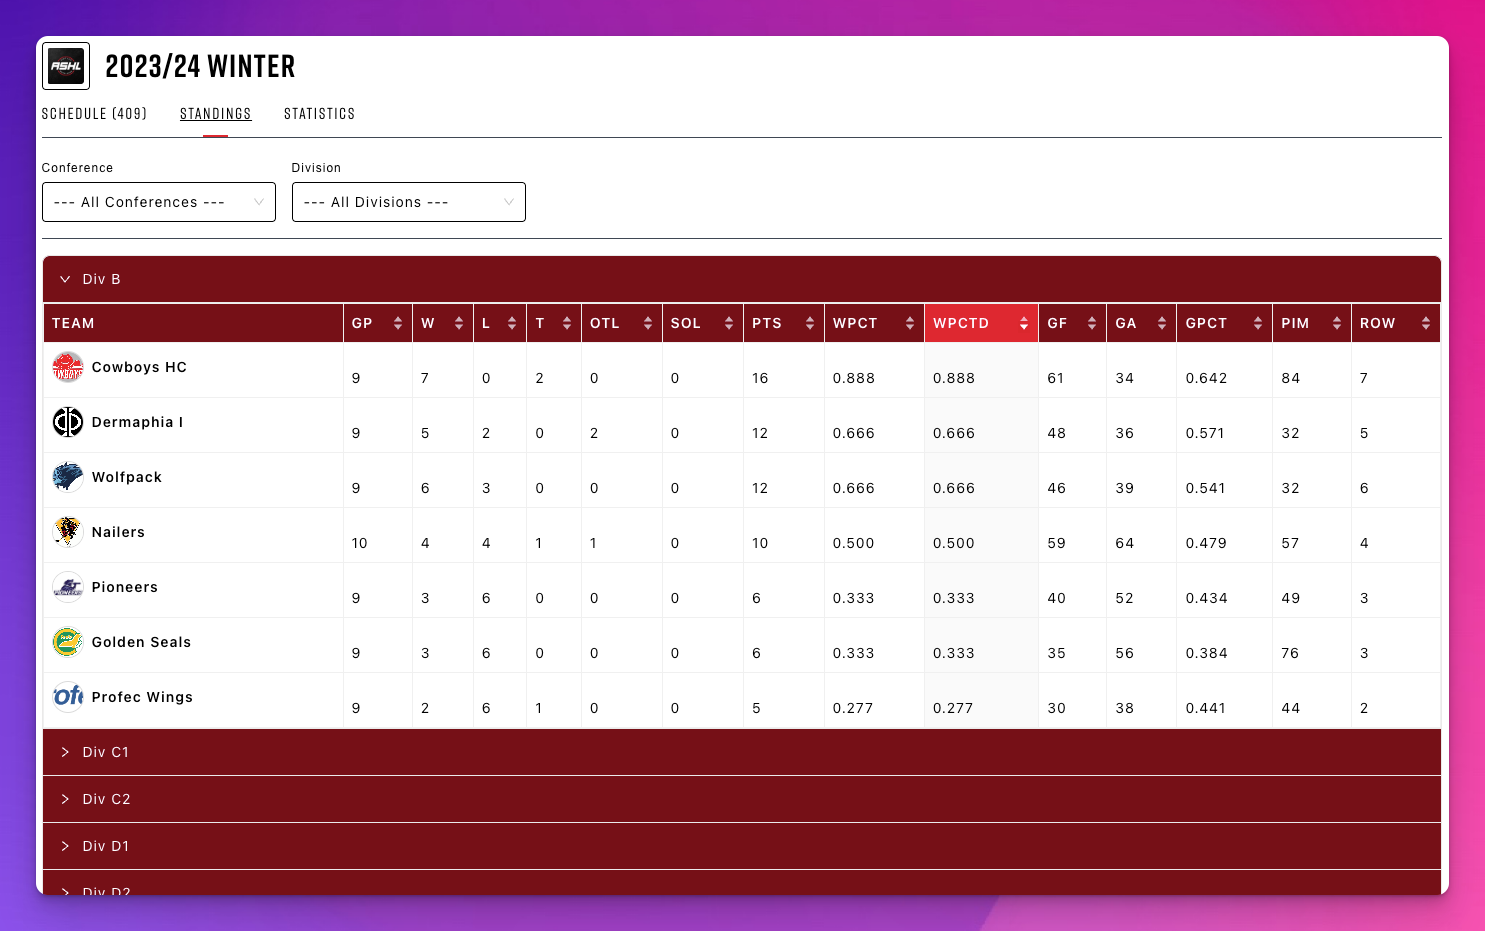
Standings View
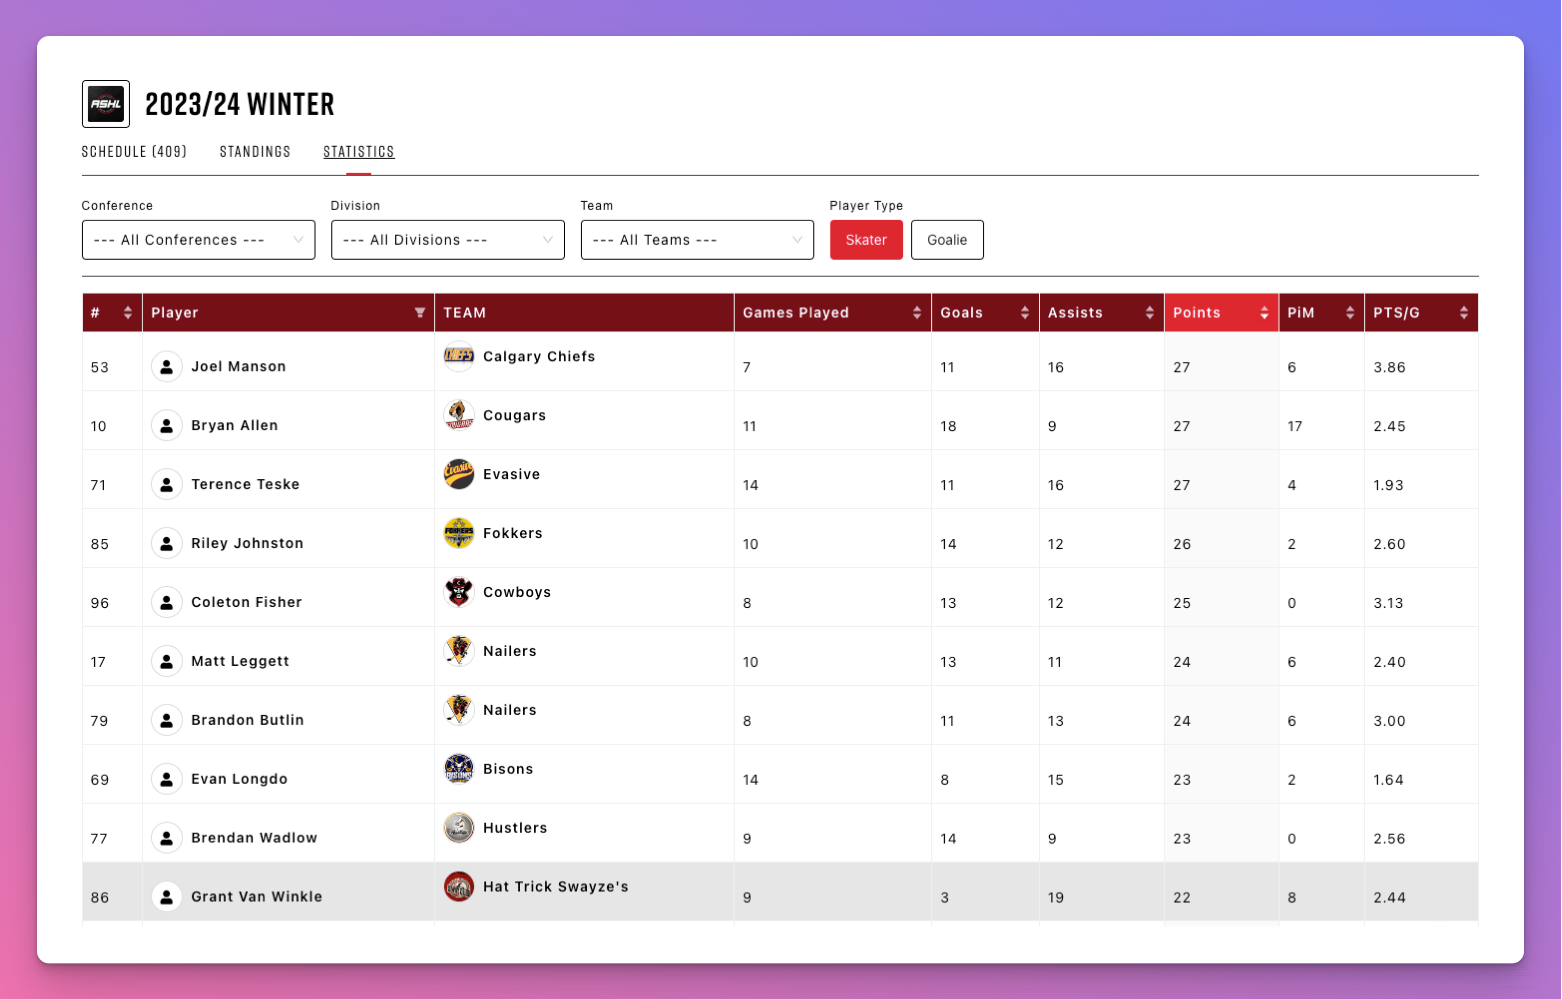
Statistics View
Web Developer Steps:
Overview
With SportNinja's Website Plugin, you can seamlessly integrate your competition's schedules, stats, teams, and rosters into your existing website. Follow these instructions to display the SportNinja Widget on your site.
Web Developer Steps
These steps are recommended to be executed by an administrator who has access to your website's source code and knows how to edit it.
Website Integration (All Websites/Generic)
- On the SportNinja website, navigate to your competition.
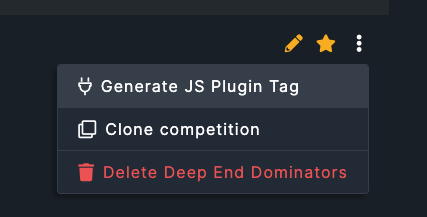
- Under options, select "Generate JS Plugin Tag."
- In the Generate JS Plugin Tag modal, and selected "Generic" under Website Type.
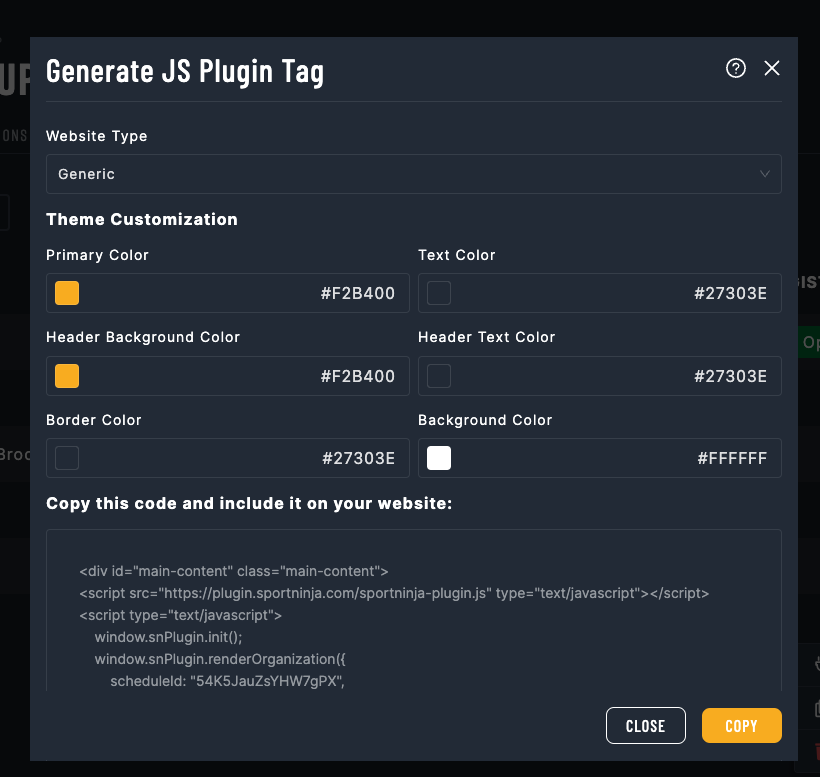
- Press "Copy" to get the code.
- Paste this code into your website, inside a webpage (it should be used within a webpage and not in an iframe).
----------------------------------
Wix Website Integrations
- On the SportNinja website, navigate to your competition.
- Under options, select "Generate JS Plugin Tag."
- In the Generate JS Plugin Tag modal, and select Wix Integration.
- Press "Copy" to get the code.
- Enable Wix Dev Mode
On the top menu of your wix page, there is a section called 'Dev Mode'. You should turn on Dev Mode.

- Create a new public custom element.
-----
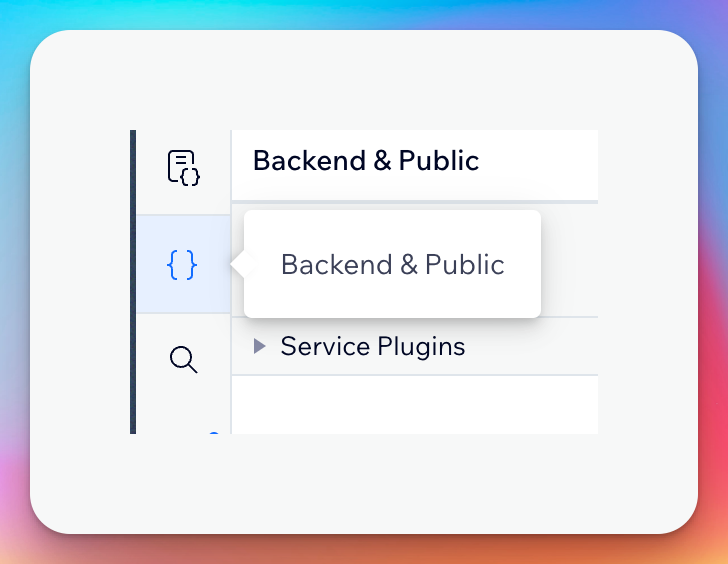
- On the new sidebar displayed on the left, click on the following icon:
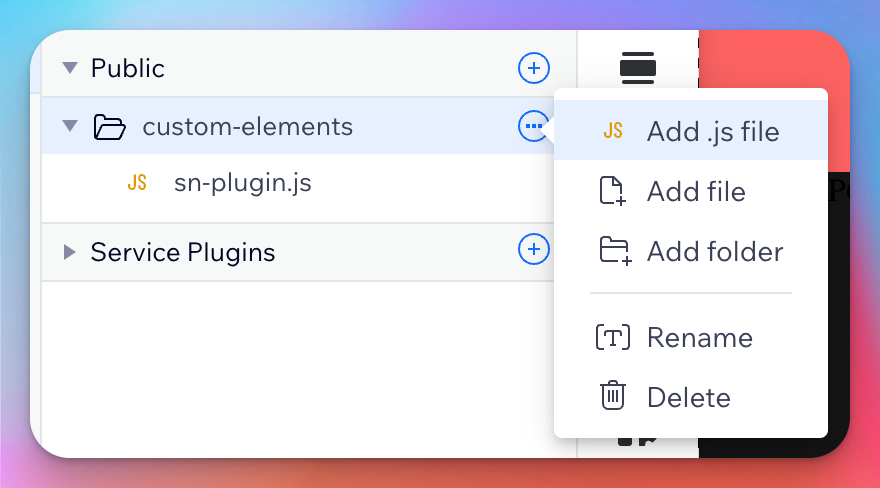
- Click on 'Public', after that click on 'More' on the custom-elements folder, and select 'Add .js file', name it sn-plugin.js
- Paste the following into the new file created ( You can get this code into the Sportninja Platform ):
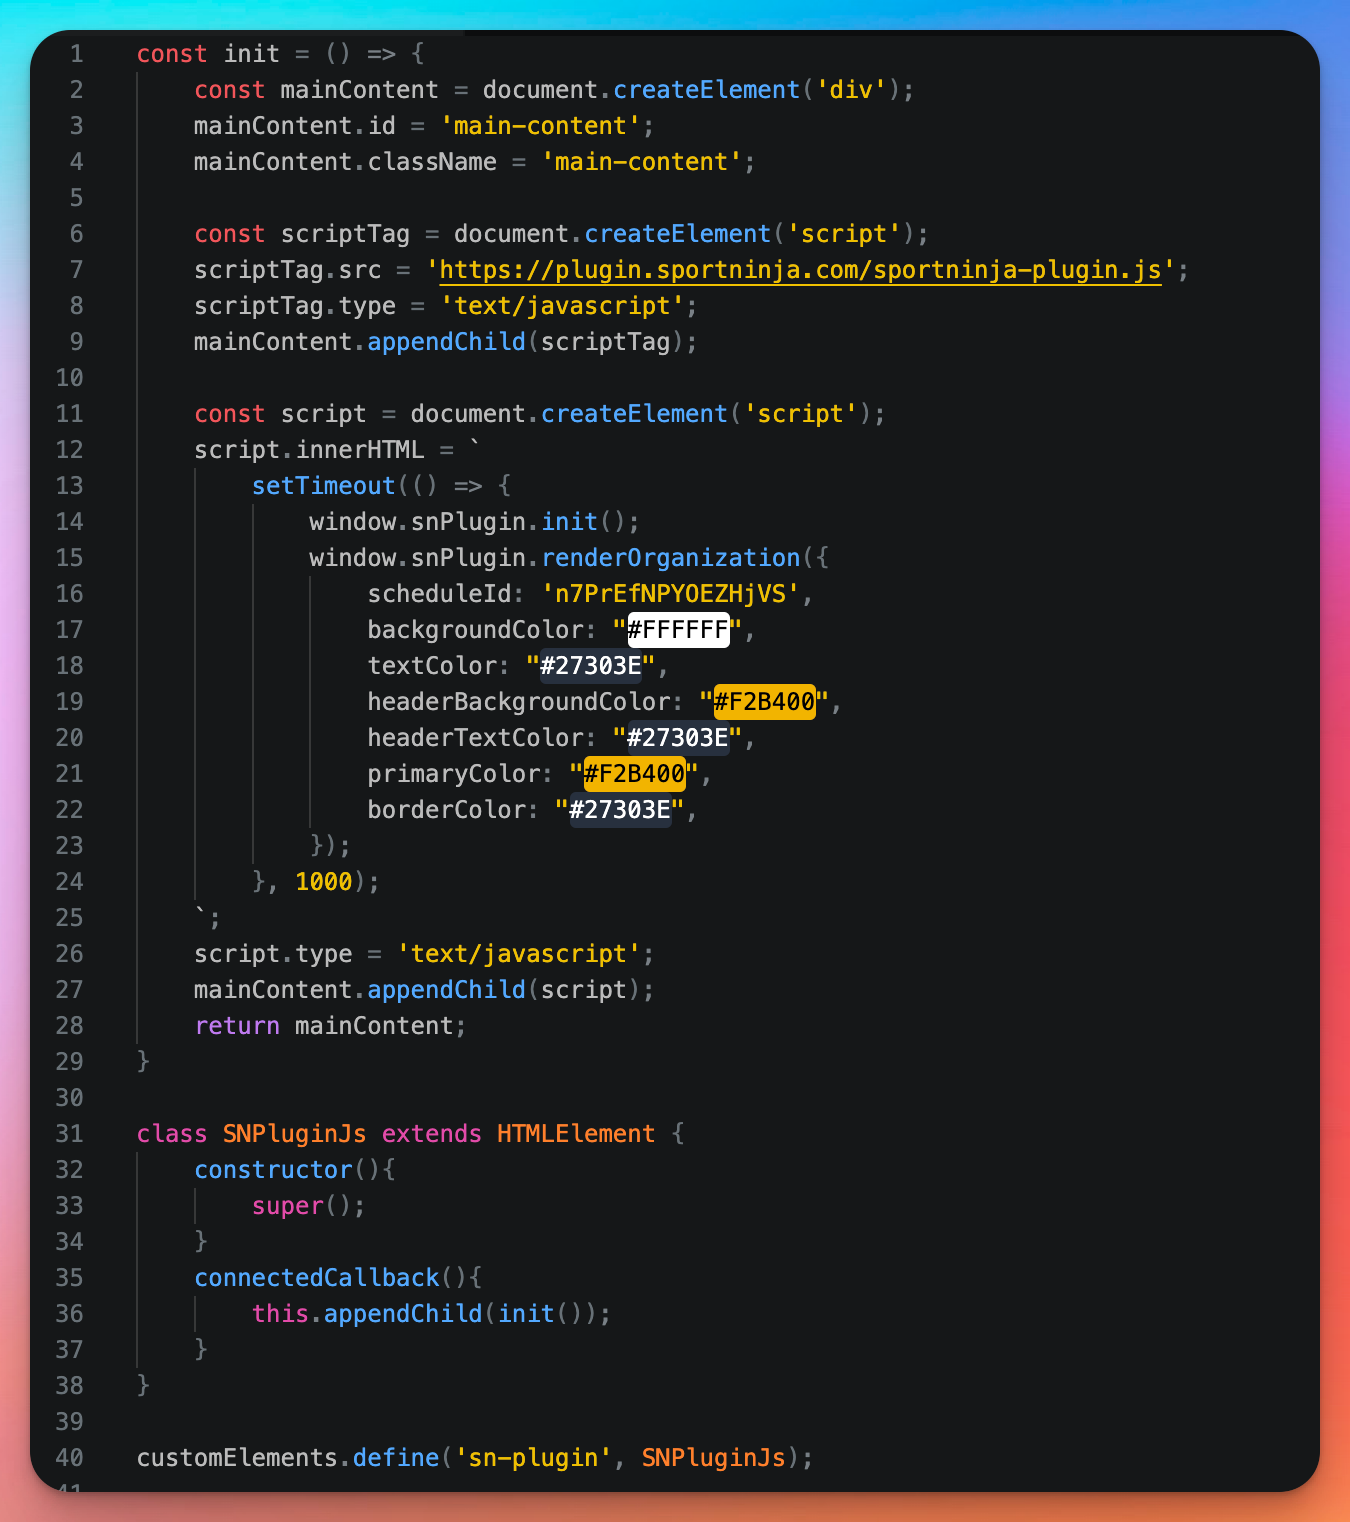
3. Add a custom element into your page ( this will be used to display the data )
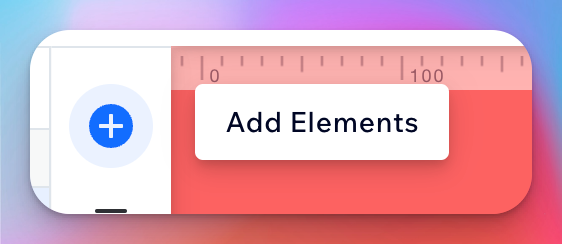
- Click on the 'Add Elements' button:
- Select 'Custom Element'
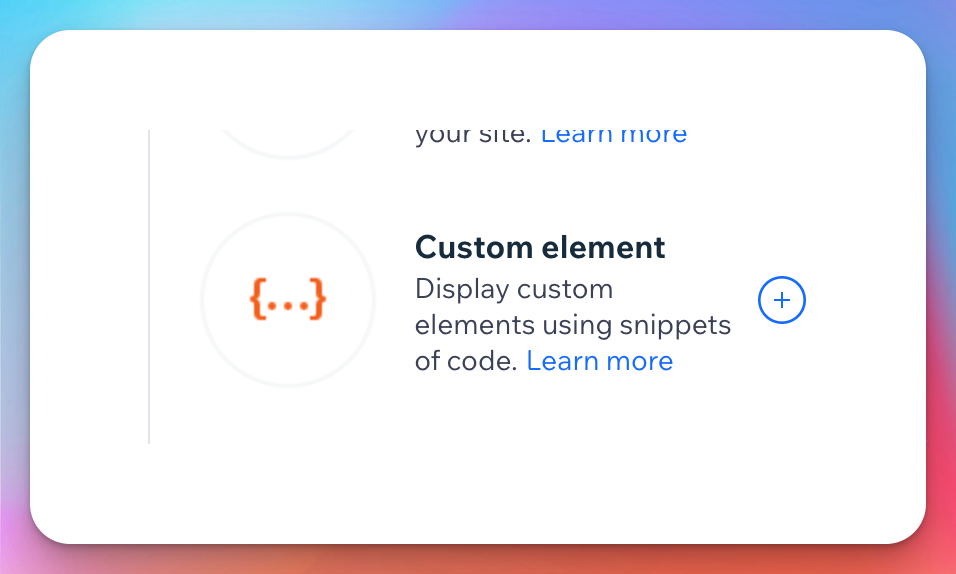
- Select the new Custom element created on your screen, and then click on Choose source
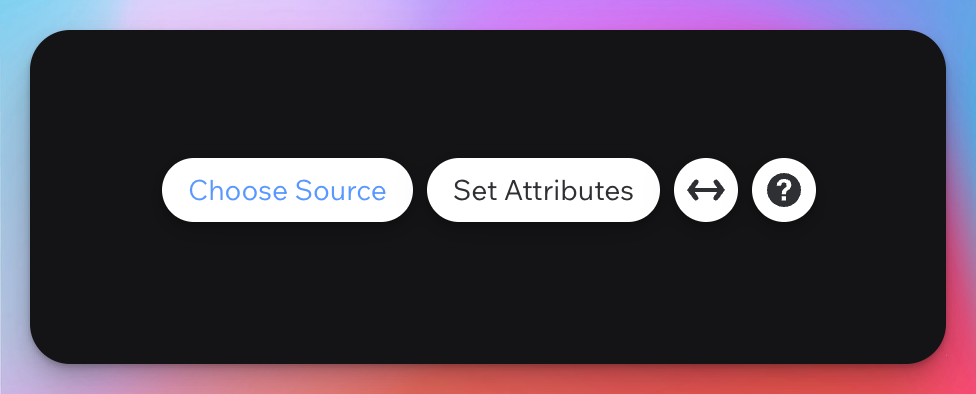
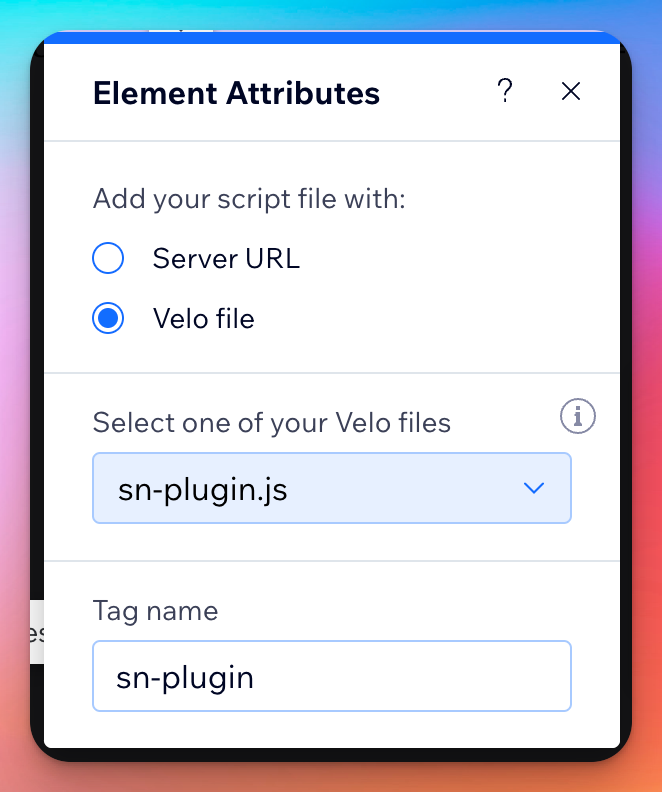
- On the element attributes, select the 'Velo File' radio button, and under the dropdown, select 'sn-plugin.js'. Change the tag name to 'sn-plugin'.
- Save and Publish the changes.
Please direct any questions to:
https://sportninja.zendesk.com/hc/en-us